Table of Contents
Looking for an easy low-carb snack that feels a little fancy but takes just minutes to make? These keto cheese-stuffed olives check all the boxes—creamy, salty, and so satisfying. I often keep a batch ready for last-minute guests or when I want something quick that won’t throw off my day.
They’re perfect for everything from casual lunches to keto picnic snacks, and they even make a thoughtful bite to share during a light Mother’s Day brunch. No cooking, no fuss—just a few simple ingredients and big flavor in every bite.
Let’s get started.
What You’ll Need
Making keto cheese-stuffed olives is surprisingly simple—and that’s part of the charm. You only need a handful of ingredients, but the flavor payoff is big. Here’s what to gather before you start:
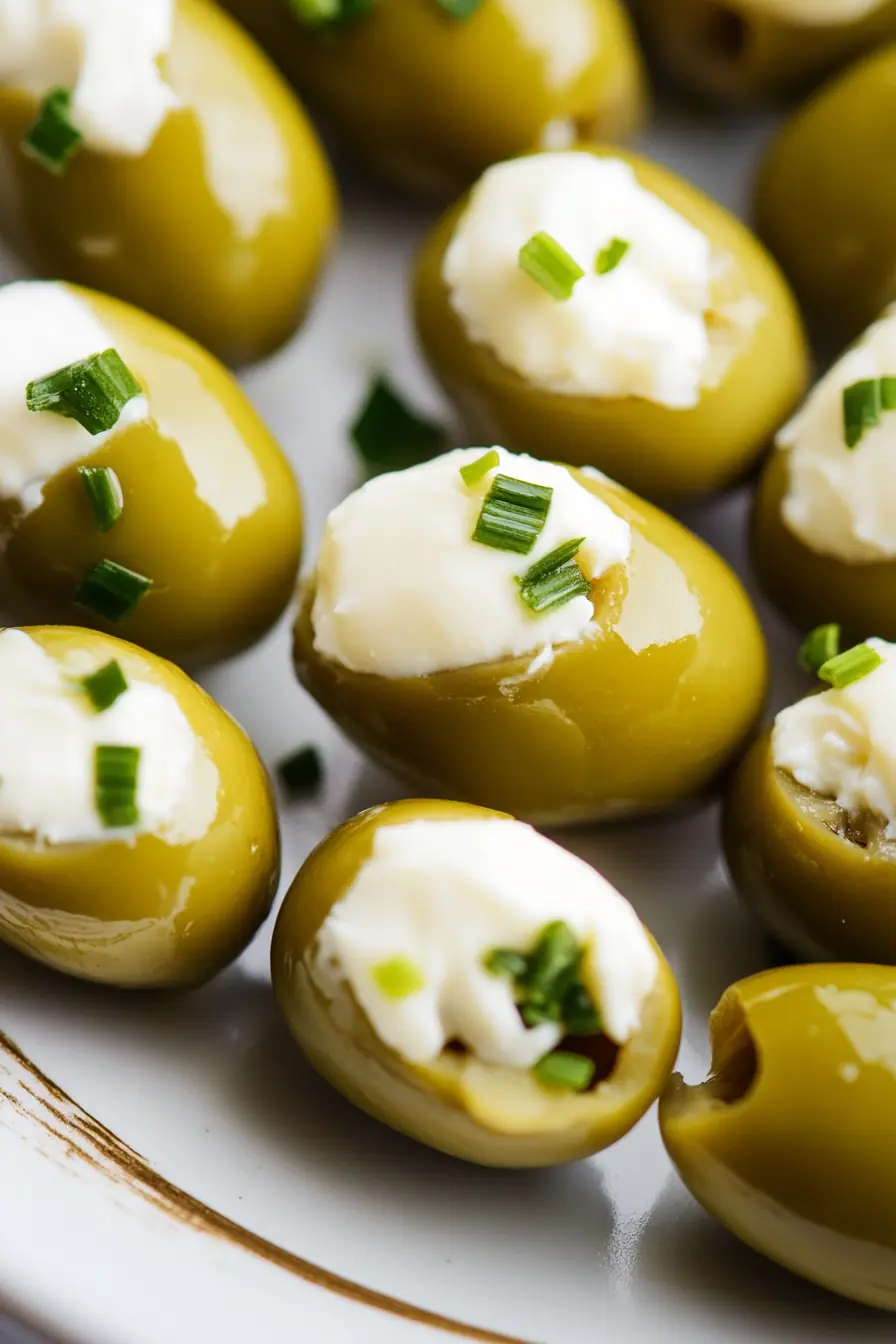
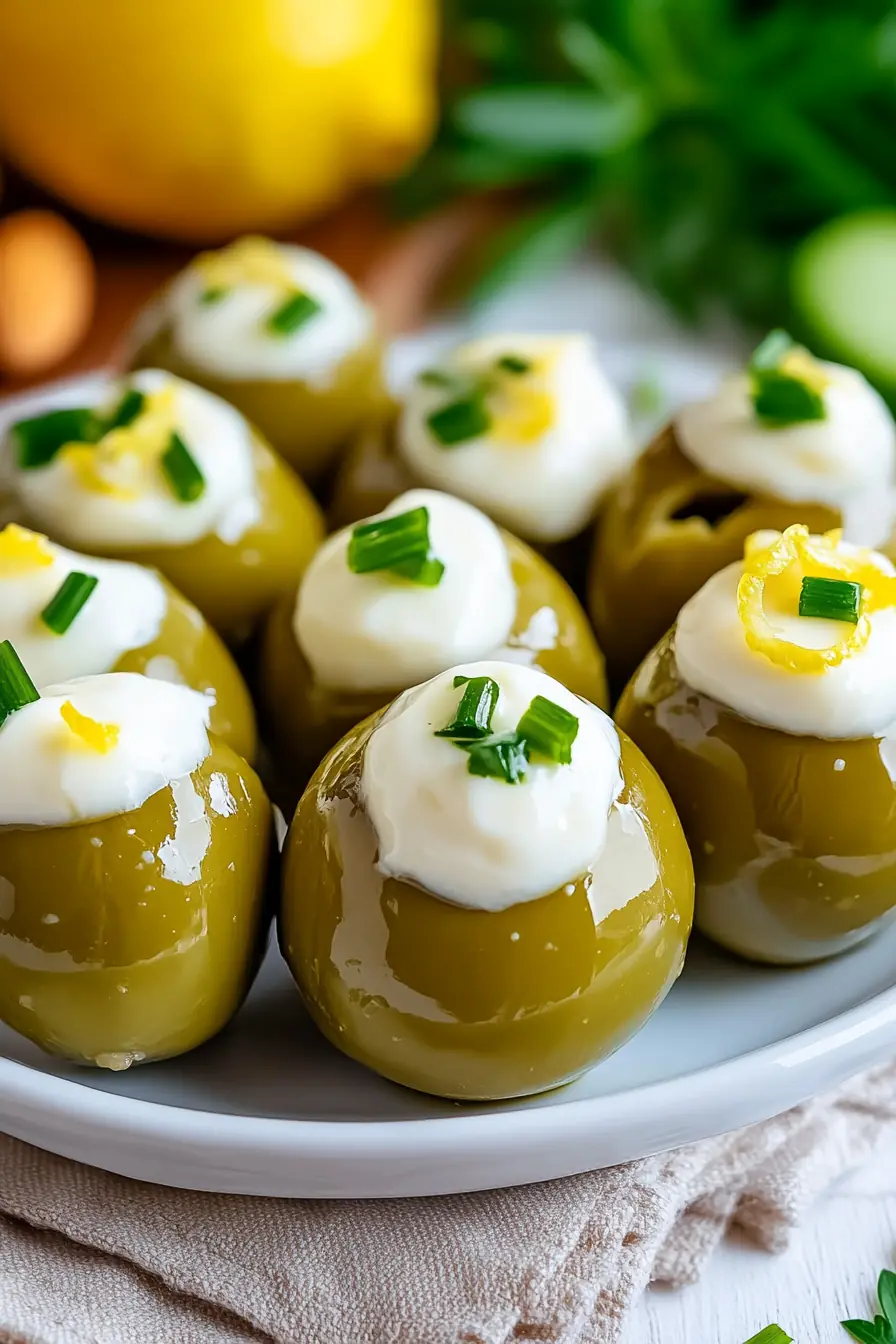
- Large green olives, pitted – Look for firm, meaty varieties like Castelvetrano or Spanish Queen olives. Their size and texture make them ideal for stuffing.
- Cream cheese or goat cheese – Softened to room temperature so it’s easy to work with. Cream cheese gives a smooth, mild taste, while goat cheese adds a tangy bite.
- Fresh herbs – Try finely chopped parsley, chives, or dill. A little goes a long way to add freshness and color.
- Garlic powder (optional) – Adds a savory kick without overpowering the cheese.
- Lemon zest (optional) – For a bright, citrusy contrast that lifts the whole bite.
These ingredients are pantry-friendly, easy to prep, and perfect for a no-cook keto snack—ideal for last-minute cravings or picnic lunch ideas for adults. You can also double the batch for make-ahead keto snacks to enjoy throughout the week.
Detailed Cooking Instructions

These cheese-stuffed olives come together in just a few simple steps. No cooking, no special tools—just a little prep and a few minutes of hands-on time. Here’s how to make them:
1. Soften the cheese
Start by letting your cream cheese or goat cheese sit at room temperature for about 10–15 minutes. This makes it easier to mix and stuff.
2. Mix the filling
In a small bowl, combine:
- 2 oz softened cheese
- 1 tablespoon finely chopped herbs
- A pinch of garlic powder or lemon zest, if using
Stir until smooth. The mixture should be soft enough to pipe or spoon easily but firm enough to hold its shape.
3. Fill the olives
There are a few ways to stuff the olives:
- Use a small spoon or butter knife for a quick method
- A toothpick works well for pushing the filling inside gently
- For a cleaner look, use a small piping bag or a plastic bag with the corner snipped off
Carefully stuff each olive, pressing just enough to fill without breaking the outer skin.
4. Chill and serve
Place the stuffed olives on a plate or tray and refrigerate for 10–15 minutes. This helps the filling set and makes them easier to handle.
Serve chilled as part of a snack board, lunchbox, or keto picnic spread. They’re great on their own or paired with sliced cucumber, nuts, or a handful of berries for balance.
These olives are best eaten cold, but you can also let them sit at room temperature for a few minutes before serving if you prefer a softer texture.
Tips & Tricks
These little bites are simple, but a few smart tips can take them from good to great. Whether you’re making them for a weekday snack or prepping for a Mother’s Day picnic, here’s how to get the most out of your keto cheese-stuffed olives:
- Choose firm, large olives
Castelvetrano and Spanish Queen olives hold their shape well and are easy to fill. Avoid smaller varieties—they’re trickier to stuff and don’t offer the same creamy-to-briny balance. - Let the cheese soften
Don’t skip this step. Soft cheese mixes more easily with herbs and fills olives without tearing them. - Use a piping bag for less mess
If you’re making a big batch for a picnic potluck or prepping ahead for guests, a piping bag (or sandwich bag with the corner snipped) makes filling quick and neat. - Add flavor with a twist
Mix in a few drops of hot sauce, chopped jalapeño, or a bit of smoked paprika for a spicy version. You can also try blue cheese or feta cheese for a bold variation. - Prep ahead
These are ideal make-ahead keto snacks. Store them in an airtight container in the fridge for up to 4 days—just be sure to serve them chilled for the best texture. - Perfect for travel
Heading out for a hike, road trip, or keto-friendly picnic? These no-cook bites pack easily in a cooler and don’t need reheating. - Pair them smartly
Add them to a healthy picnic food lineup with hard-boiled eggs, almond crackers, and veggie sticks for a full low-carb plate.
These quick tricks not only save time—they help you enjoy more flavor with less effort.
Why It’s Healthy

These keto cheese-stuffed olives may feel like a treat, but they’re packed with ingredients that support your low-carb lifestyle. Here’s why they’re a smart choice for snacking or serving:
- Low in carbs, high in fat
With virtually no carbs and a solid dose of healthy fats from both olives and cheese, this snack keeps you full without spiking your blood sugar—perfect for keto, paleo, or low-carb meal plans. - Great source of healthy fats
Olives provide monounsaturated fats, which are linked to heart health. Paired with full-fat cheese, they offer lasting energy and help curb cravings between meals. - Naturally portion-controlled
Each olive is a one-bite snack, making it easy to enjoy a few without going overboard. They’re ideal for those tracking macros or sticking to portion goals. - No cooking, no fillers
Made with whole ingredients—cheese, herbs, olives—this is a clean, no-cook snack that fits into a Whole30-inspired day (with a compliant cheese alternative, if needed). - Balanced and satisfying
The combination of creamy, salty, and fresh flavors means you’re less likely to reach for processed snacks. These are a tasty option for everything from healthy lunch ideas to Mother’s Day picnics.
In short, this is a smart snack that satisfies without compromise—real food, real flavor, real results.
You Might Also Like
Looking for more easy, feel-good recipes that fit your low-carb or veggie-loving lifestyle? Here are a few favorites you might enjoy next:
- Effortless Veggie Omelette Roll
A protein-packed, veggie-rich dish that rolls up beautifully—great for brunch, lunch, or a light dinner. - Sun-Dried Tomato and Feta Stuffed French Toast Delight
A savory twist on a classic, filled with bold Mediterranean flavor. It’s quick, satisfying, and totally crave-worthy. - Easy Mediterranean Quinoa Power Bowl for a Healthy Meal
Loaded with fresh veggies, protein, and healthy fats—this one-bowl wonder is a go-to for clean eating any day of the week.
Each of these recipes pairs well with your goals for simple, wholesome, and flavorful meals—perfect for weekdays, picnics, or laid-back gatherings.
Frequently Asked Questions
Yes. While cream cheese and goat cheese are popular for their texture and flavor, you can also try feta for a saltier bite or blue cheese for a stronger, tangier option.
Absolutely. These are great make-ahead keto snacks. Store them in an airtight container in the fridge for up to 4 days.
Freezing isn’t recommended. The texture of the cheese and olives can change once thawed, making them less appealing. They’re best enjoyed fresh or chilled from the fridge.
With dairy-based fillings, they aren’t compliant with Whole30 or strict paleo plans. However, you can use a dairy-free cream cheese alternative to create a version that fits those diets more closely.
Yes. These are perfect no-cook keto snacks for picnics, travel, or even a quick lunch. Just keep them cool in an insulated container or cooler.
These olives are meant to be served cold or at room temperature. Warming them may cause the cheese to soften too much or leak from the olives. Chill before serving for the best results.

Keto Cheese-Stuffed Olives
- Prep Time: 10 minutes
- Cook Time: 0 minutes
- Total Time: 10 minutes
- Yield: 20 pieces
- Category: Brunch
- Method: No-Cook
- Cuisine: Mediterranean-Inspired
- Diet: Gluten Free
Description
Creamy cheese meets salty green olives in this quick, no-cook keto snack. Perfect for meal prep, picnics, or a light Mother’s Day brunch plate.
Ingredients
-
20 large green olives, pitted (Castelvetrano or Spanish Queen)
-
2 oz cream cheese or goat cheese, softened
-
1 tbsp fresh herbs, finely chopped (parsley, dill, or chives)
-
Pinch of garlic powder (optional)
-
Zest of ¼ lemon (optional)
Instructions
-
Let the cheese sit at room temperature for 10–15 minutes.
-
In a small bowl, mix the cheese, herbs, and any optional ingredients.
-
Fill each olive using a small spoon, toothpick, or piping bag.
-
Chill the stuffed olives in the fridge for 10–15 minutes.
-
Serve cold as a snack or part of a keto-friendly picnic spread.
Notes
-
These store well in the fridge for up to 4 days.
-
Add hot sauce or chopped jalapeño for a spicy version.
-
Try feta or blue cheese for bold variations.
Nutrition
- Serving Size: 5 olives
- Calories: 90 kcal
- Sugar: 0 g
- Sodium: 300 mg
- Fat: 8 g
- Saturated Fat: 4 g
- Unsaturated Fat: 3 g
- Trans Fat: 0 g
- Carbohydrates: 1 g
- Fiber: 0 g
- Protein: 2 g
- Cholesterol: 15 mg
Keywords: keto cheese-stuffed olives, low carb snack, no-cook keto snack, stuffed olives, keto picnic snacks
Save This Recipe for Later

Want to keep this easy snack on hand for your next picnic, meal prep day, or holiday gathering?
Perfect Keto Cheese-Stuffed Olives for Picnics & Mother’s Day

